
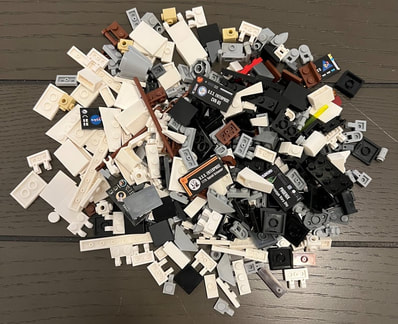
Two Dimensional Thinking...Every MOC builder has a different method for attaching stickers to their models, all varying in cost and crafting skills required to execute. For the custom labels for each of my models, the process I've outlined tries to accomplish four goals:
|
|
|
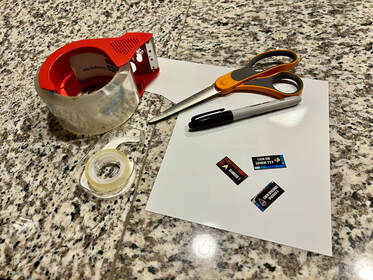
Required Materials
|
Step-by-Step Guide
- Print the image* on your printer with matte photo paper.
- Cut it out the label.
- Using a black permanent marker, carefully color the edge of the label.
- Lay the label down face up, and place a strip of clear shipping/packing tape sticky side down onto the label. Press gently across the top of the label to smooth out any bubbles or air gaps.
- Cut out the label from the packing tape.
- Using temporary or permanent double-sided tape, place the tape onto the label, and then place the sticker onto the 2x4 tile.
* I supply a PDF and PNG version of each model's label. If you want to print multiple at once to save on paper, you will have to resize the images on a Word / Pages document. The exact dimensions of a 2 x 4 tile is 1.25” x 0.62”, so you can use that to resize.
Have more questions?


2024 © MiniTrekMOCs, all rights reserved.
LEGO® is a trademark of the LEGO® Group which does not sponsor, authorize or endorse this site.